

added by ILOVEMILAN19
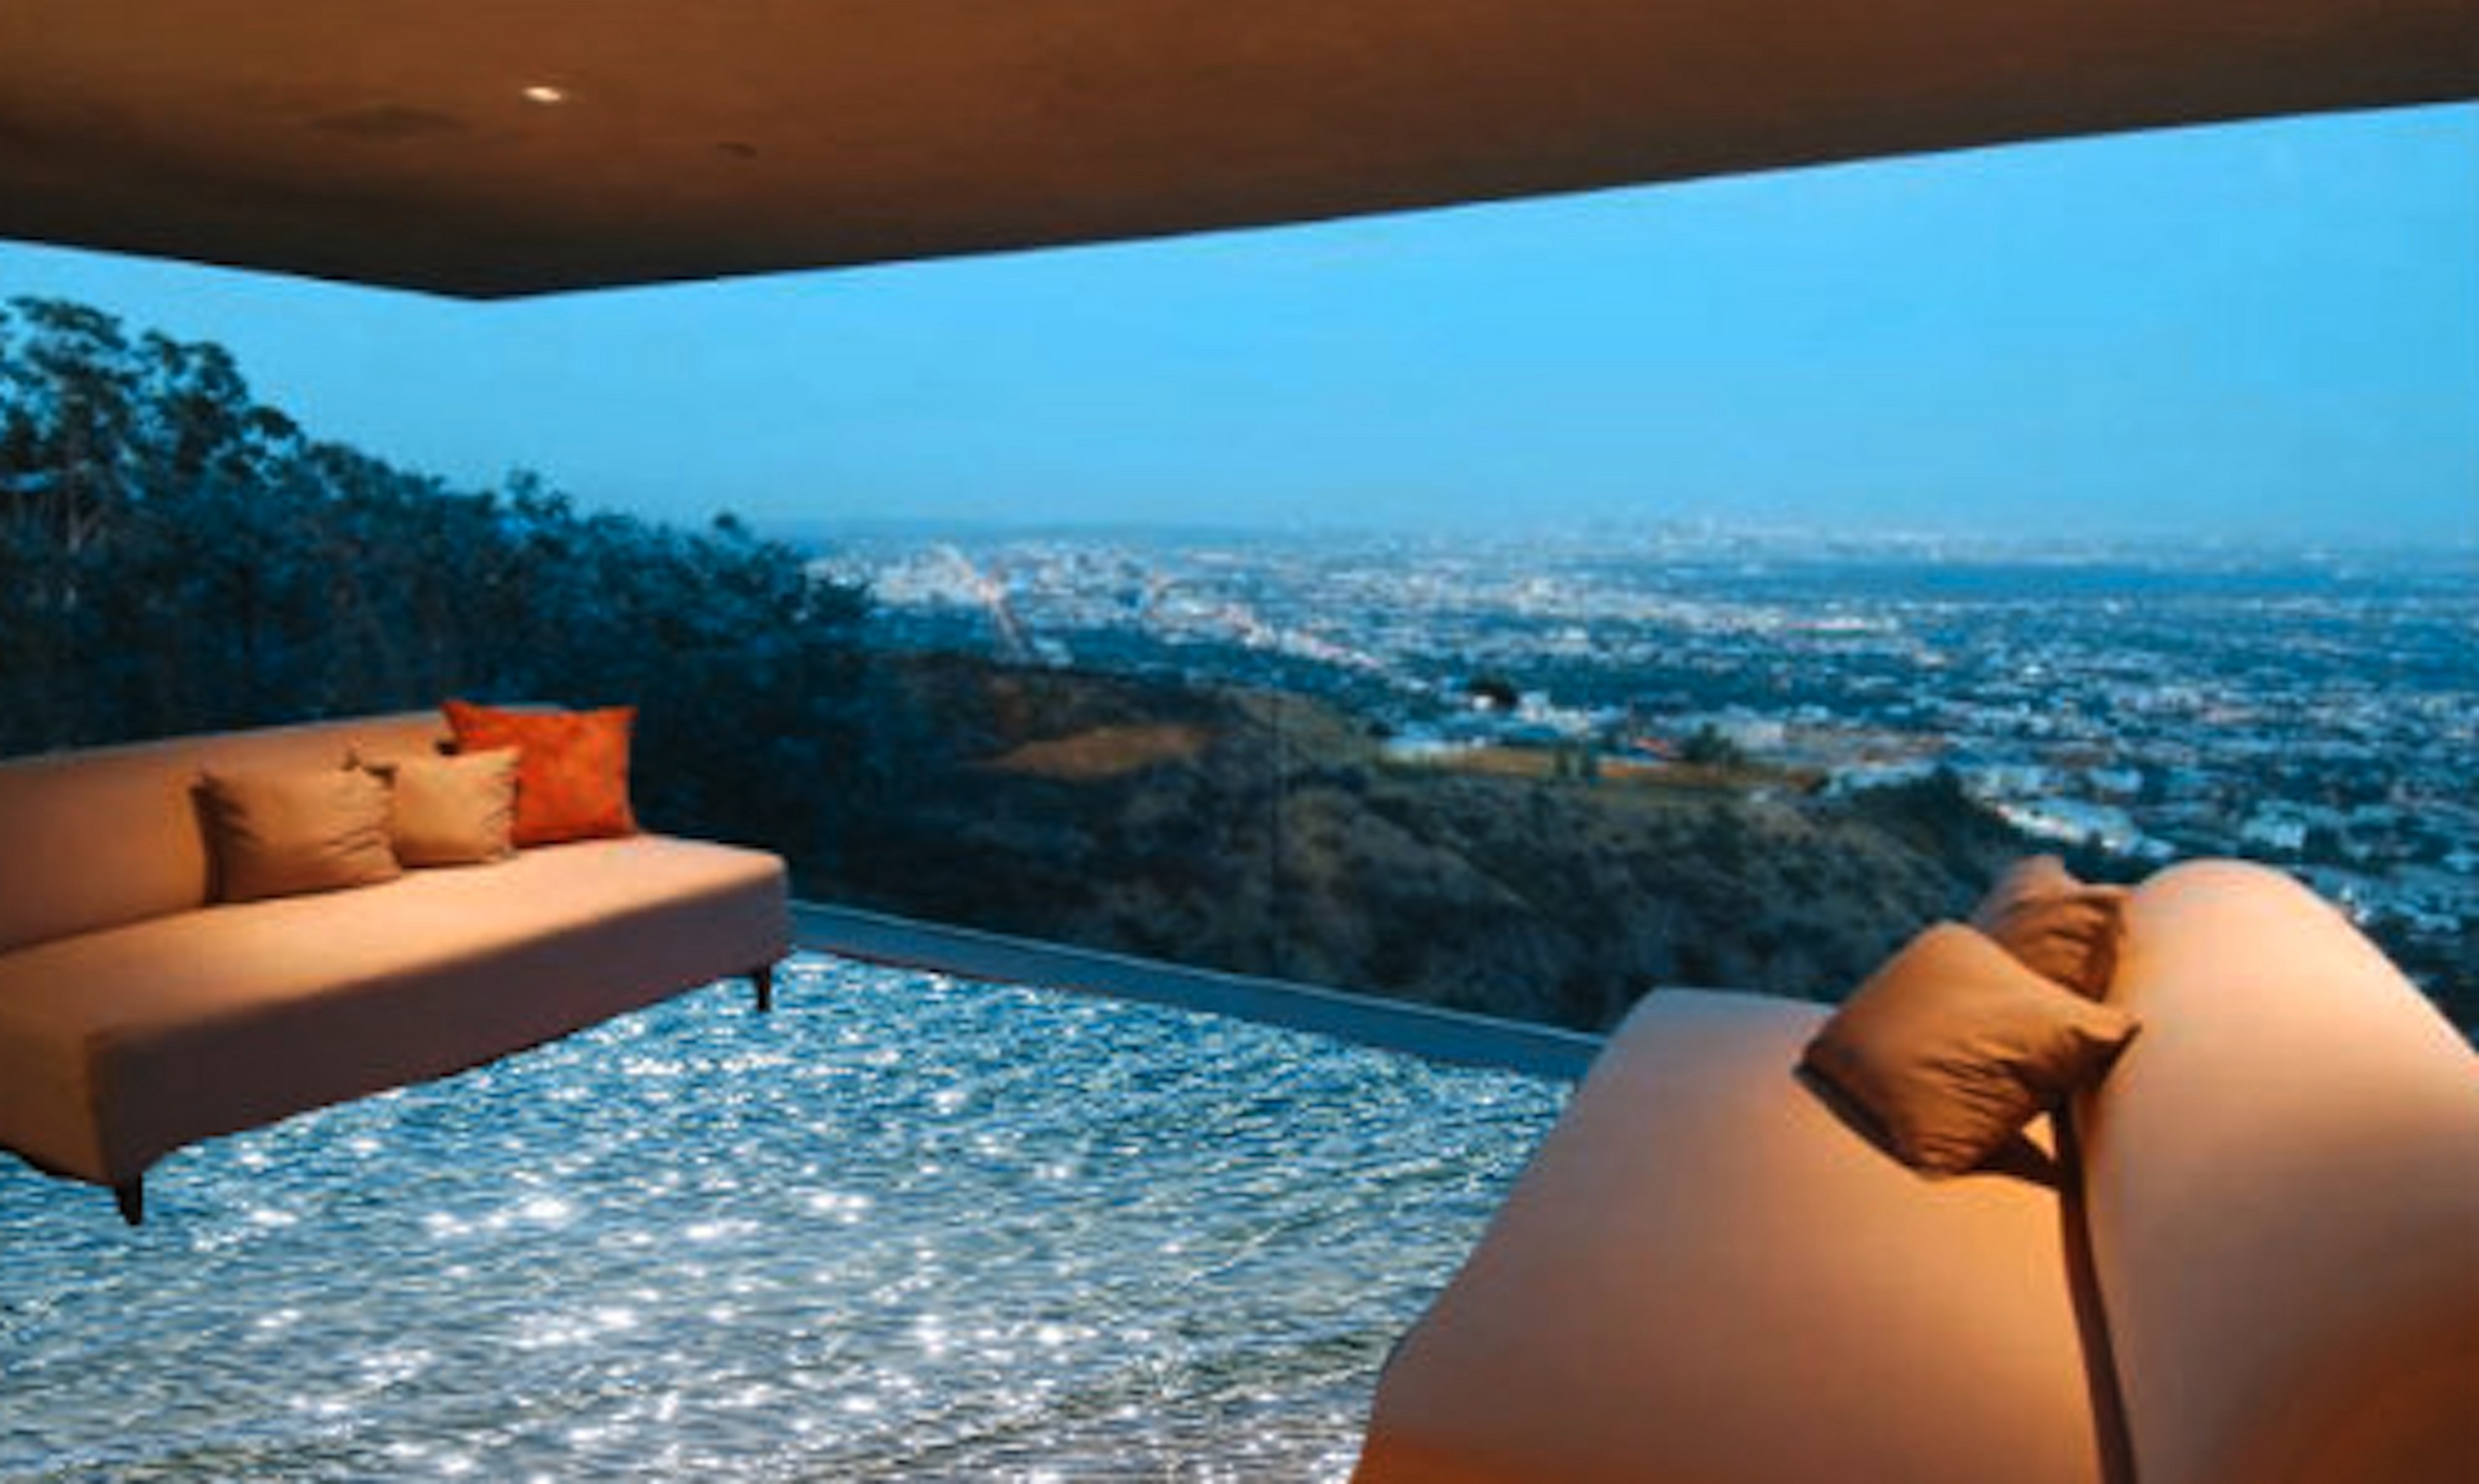
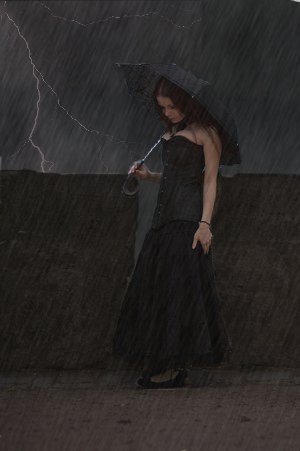
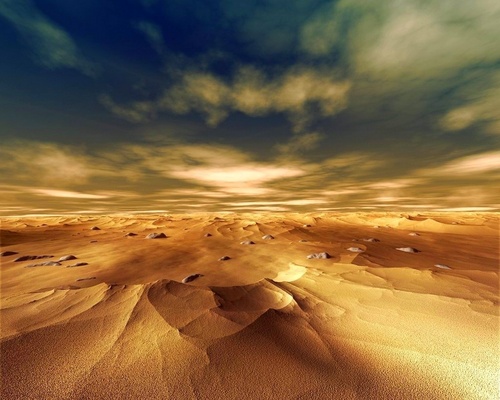
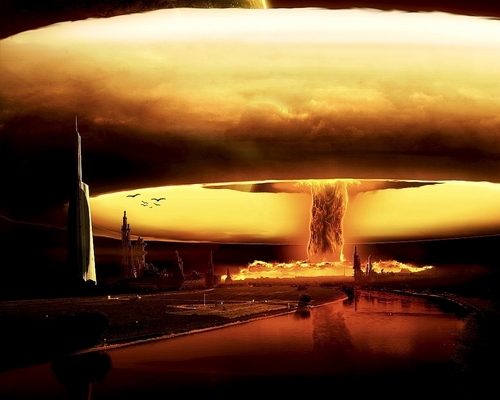
Imagine that your saloons floor is water,sand অথবা even absorbed দ্বারা a black hole. THAT'S THE COOLEST THING TO IMAGINE
This Photoshop ছবি contains গরম টব, রিসোর্ট, রিসোর্ট হোটেল, and ছুটির দিন অবলম্বন. There might also be জীবিত রুম জীবিত রুম, বসার ঘর, সামনের রুম, খেলবার, রিসোর্ট হোটেল, স্পা, and পারিবারিক কক্ষ.


Made in: Adobe Photoshop CS5
Don't claim as your own.
Enjoy ♥
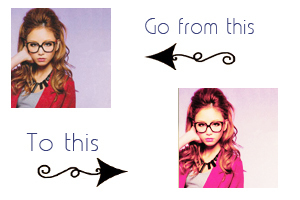
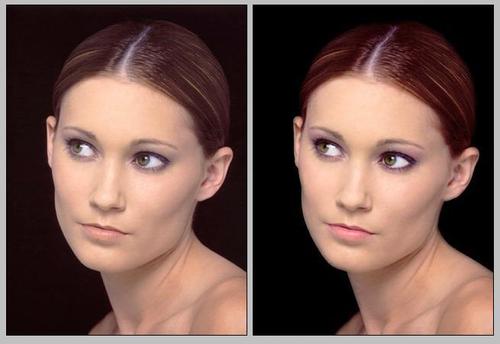
1. Find your image and crop it to 100x100.
Then go to Layer → New Adjustment layer → Selective Coloring:
Yellow: -61
2.Layer → New Adjustment layer → Curves:
Output: 54 Input: 79
Output: 189 Input: 161
3.Layer → New Adjustment layer → Color Balance:
Shadows:
Magenta: +10
Yellow: +10
4.Layer → New Adjustment layer → Color Balance:
Midtones:
Cyan: +45
5.Layer → New Fill layer → Solid color:
Color: #f2d798
Mode:Multiply
Opacity: 21%
6.Layer → New Adjustment layer → Selective color:
Cyan: -72
Magenta: +5
Yellow: -32...
continue reading...
Don't claim as your own.
Enjoy ♥
1. Find your image and crop it to 100x100.
Then go to Layer → New Adjustment layer → Selective Coloring:
Yellow: -61
2.Layer → New Adjustment layer → Curves:
Output: 54 Input: 79
Output: 189 Input: 161
3.Layer → New Adjustment layer → Color Balance:
Shadows:
Magenta: +10
Yellow: +10
4.Layer → New Adjustment layer → Color Balance:
Midtones:
Cyan: +45
5.Layer → New Fill layer → Solid color:
Color: #f2d798
Mode:Multiply
Opacity: 21%
6.Layer → New Adjustment layer → Selective color:
Cyan: -72
Magenta: +5
Yellow: -32...